Virtualize macOS Ventura with UTM

I did virtualize macOS Ventura with UTM on my 2020 Macbook Air, which runs macOS 12.6 Monterey

Steps:

  1. Download UTM
    https://mac.getutm.app

  2. Download ipsw installer file for your Mac
    https://ipsw.me

  3. Run UTM and install macOS Ventura from the ipsw file
    Tutorial: How to virtualize macOS Ventura on Mac with Apple Sillicon chip (the easy way)

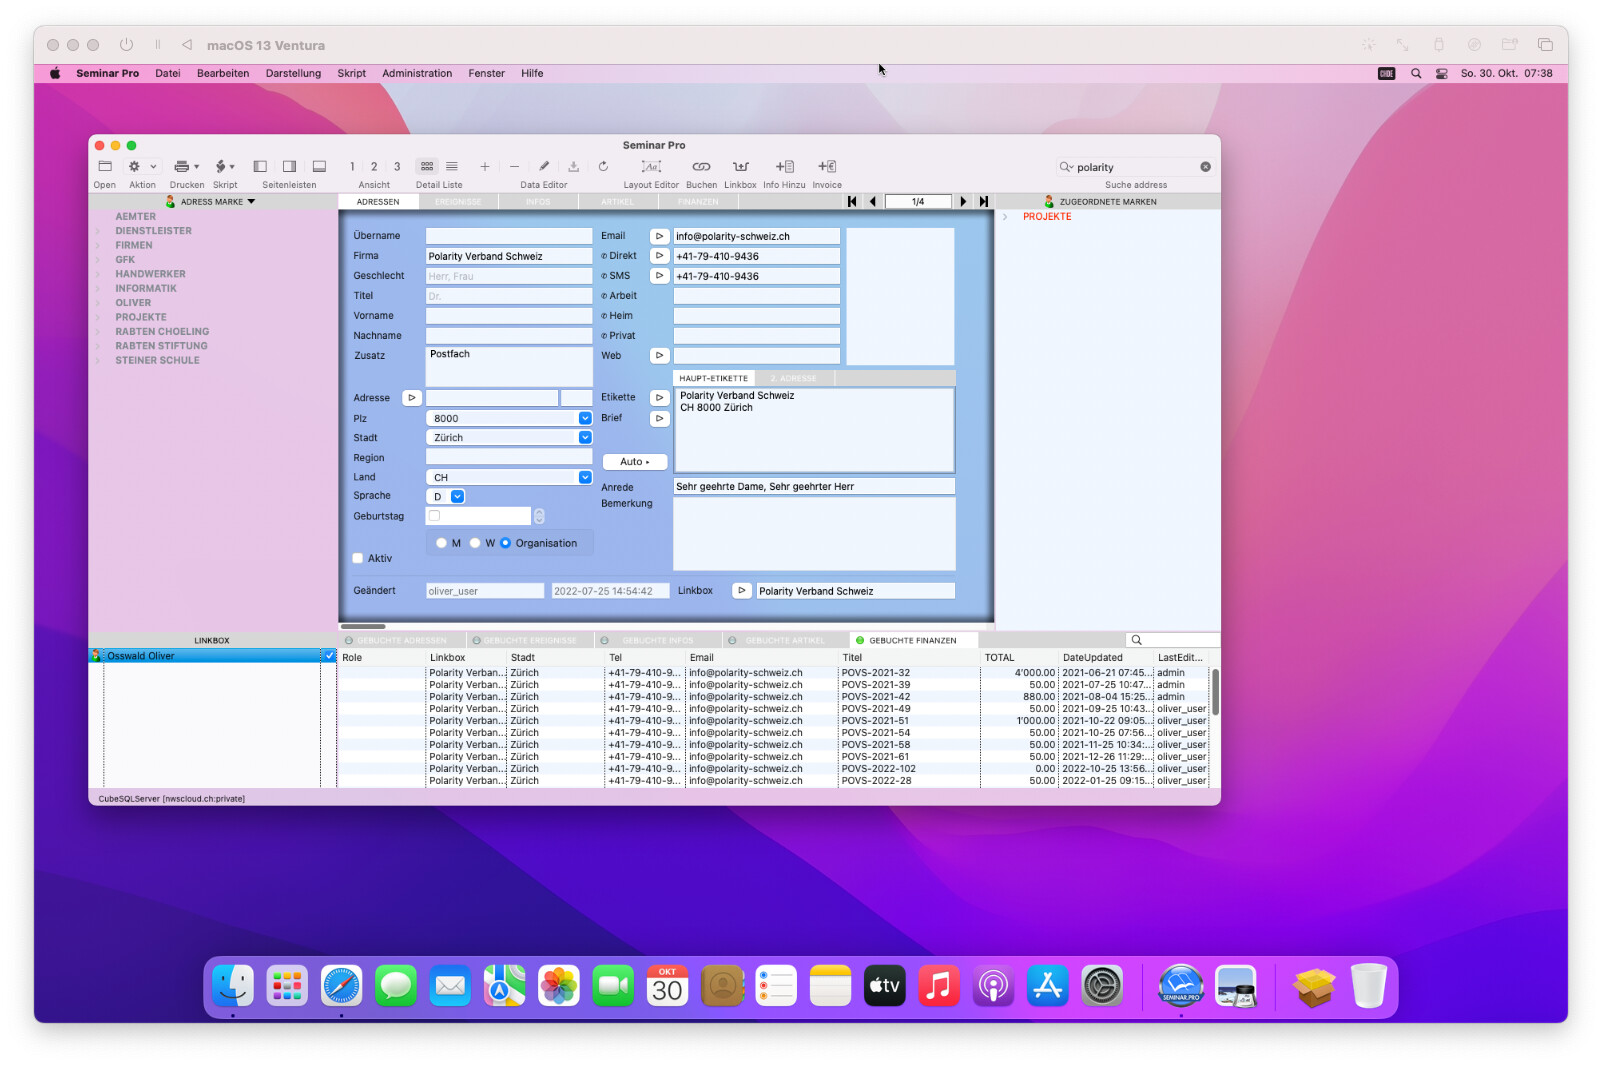
Then I downloaded my seminar.pro app (which is sandboxed and notarized), did run the installer, agreed to rosetta install, and surprise: my app still runs without any error!

Seminar.pro is an app I developed with Xojo for macOS, and I need to maintain it for the time being.

Latest version is built with Xojo 2020r1.2 (later Xojo versions totally mess it up and I do not have the time to rewrite tons of code)

3 Likes

Never heard of UTM but it looks pretty nifty and could be a free alternative for Parallels, so it seems. Thank you for sharing this.

1 Like

I needed to virtualize Windows XP on my M1 MacBook, that’s when I discovered UTM. Pretty useful to me.

1 Like

I just installed macOS 12 with UTM on my MBP M1 Pro running macOS 13.
And it works much faster compared to using Parallels 17 (I don’t have 18).
With Parallels I only could use 4GB as memory and 2 cores. UTM can use as many as you want (for both) which is awesome and boost performance a lot.
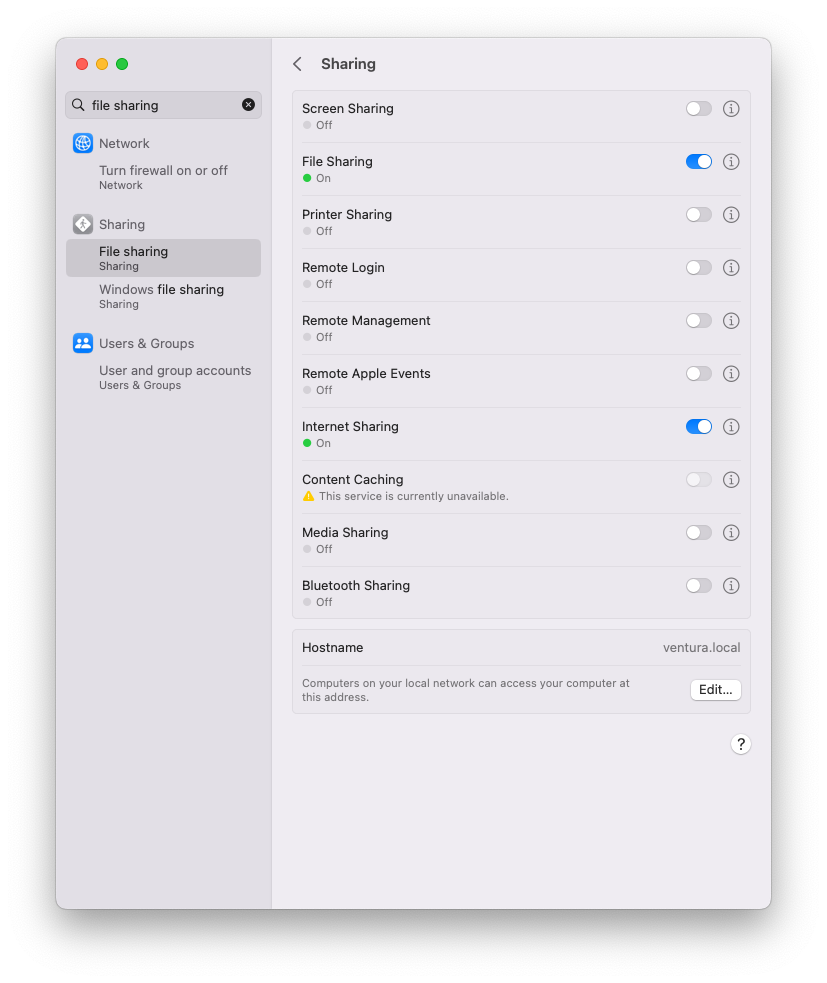
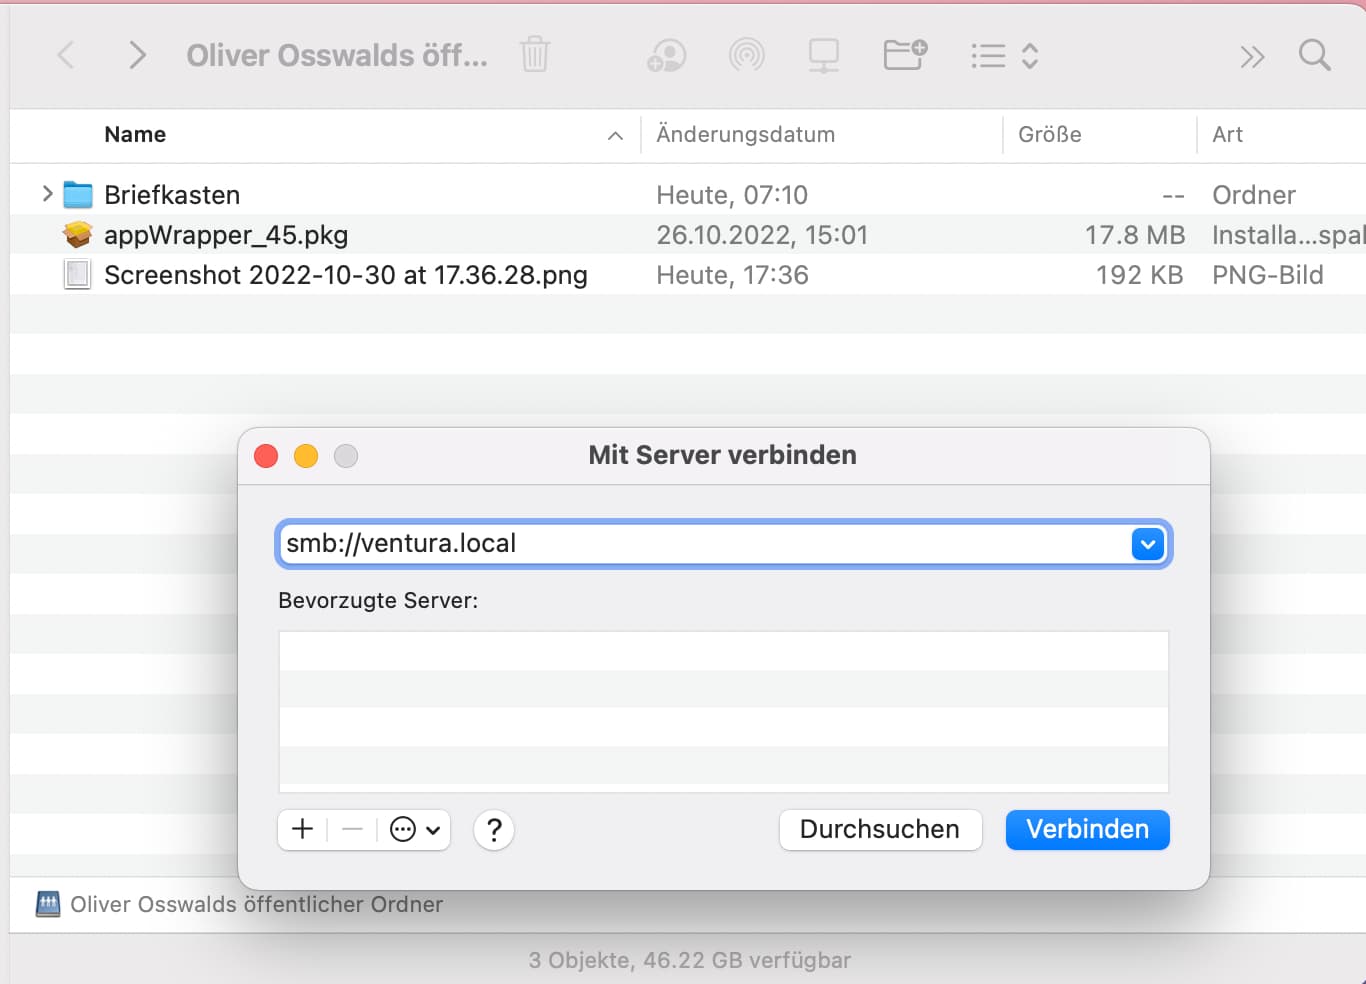
One thing I cannot get to work is sharing files between the host OS and VM.

Anyhow, I bought UTM on the AppStore (I know its available for free too but for 12eur I gladly support this awesome VM tool).

2 Likes

You mean by drag&drop or by connecting to the other computer as a server?

By drag&drop from from host to VM or other way around.

Ok. That requires additions to the software, which UTM probably haven’t added (yet).
About connecting to the server directly, that still should work.

There is some place were you can add shared folders but I cannot get that to work either.

Anyhow, I am pretty impressed by UTM. No need to buy Parallels or another VM anymore. :slight_smile:

At the moment there is no drag&drop file-sharing when using a macOS client.

What I do now for file exchange is to enable file sharing in the Ventura UTM client. Then from my macOS host I use Goto->Connect to server, using smb.

And:

3 Likes

… and don’t forget to set an easy hostname in the client, like ventura.local (right there on the sharing dialog, lower right corner)

Alternatively, if you want drag & drop and clipboard sharing, you can access the VM using Screen Sharing.app. On the client, enable Screen Sharing and then on the Host, in the Finder, go to the Network tab - double click the VM, and you’ll see a “Share Screen” button appear.

1 Like