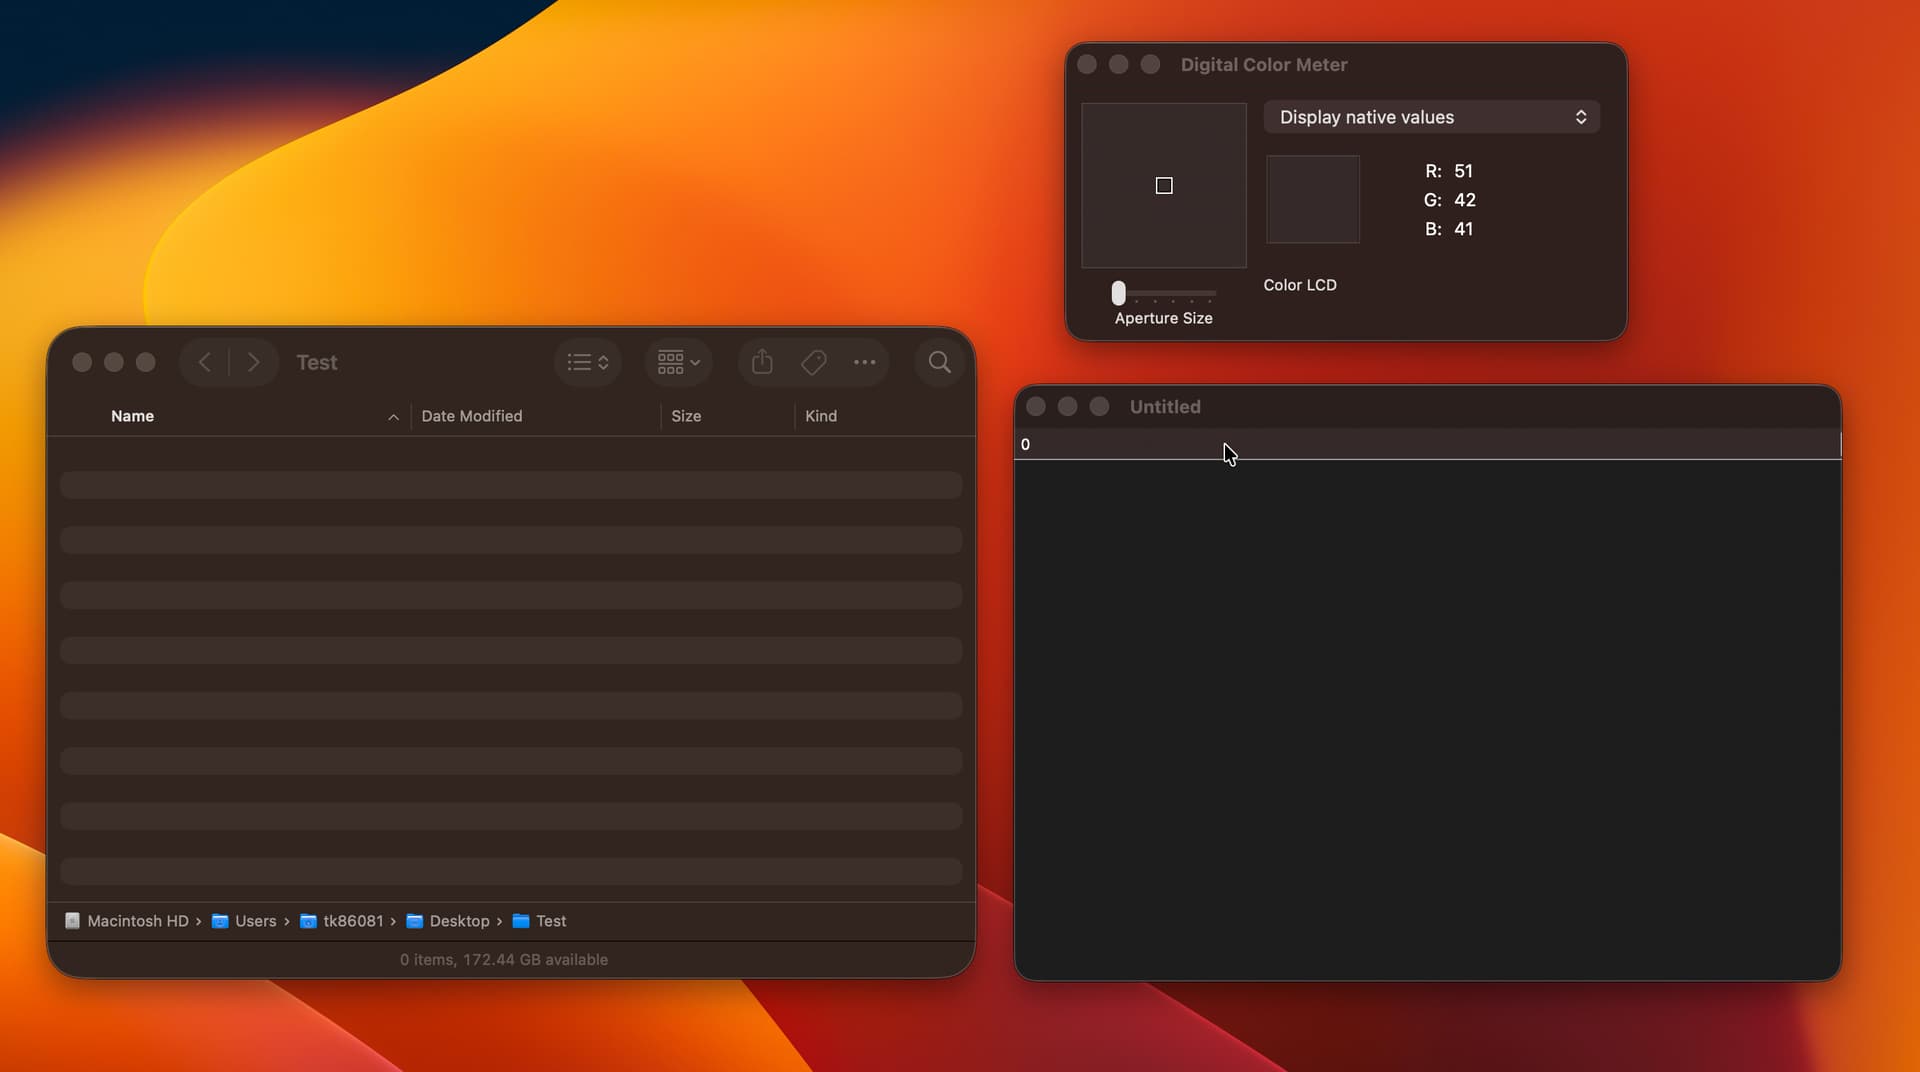
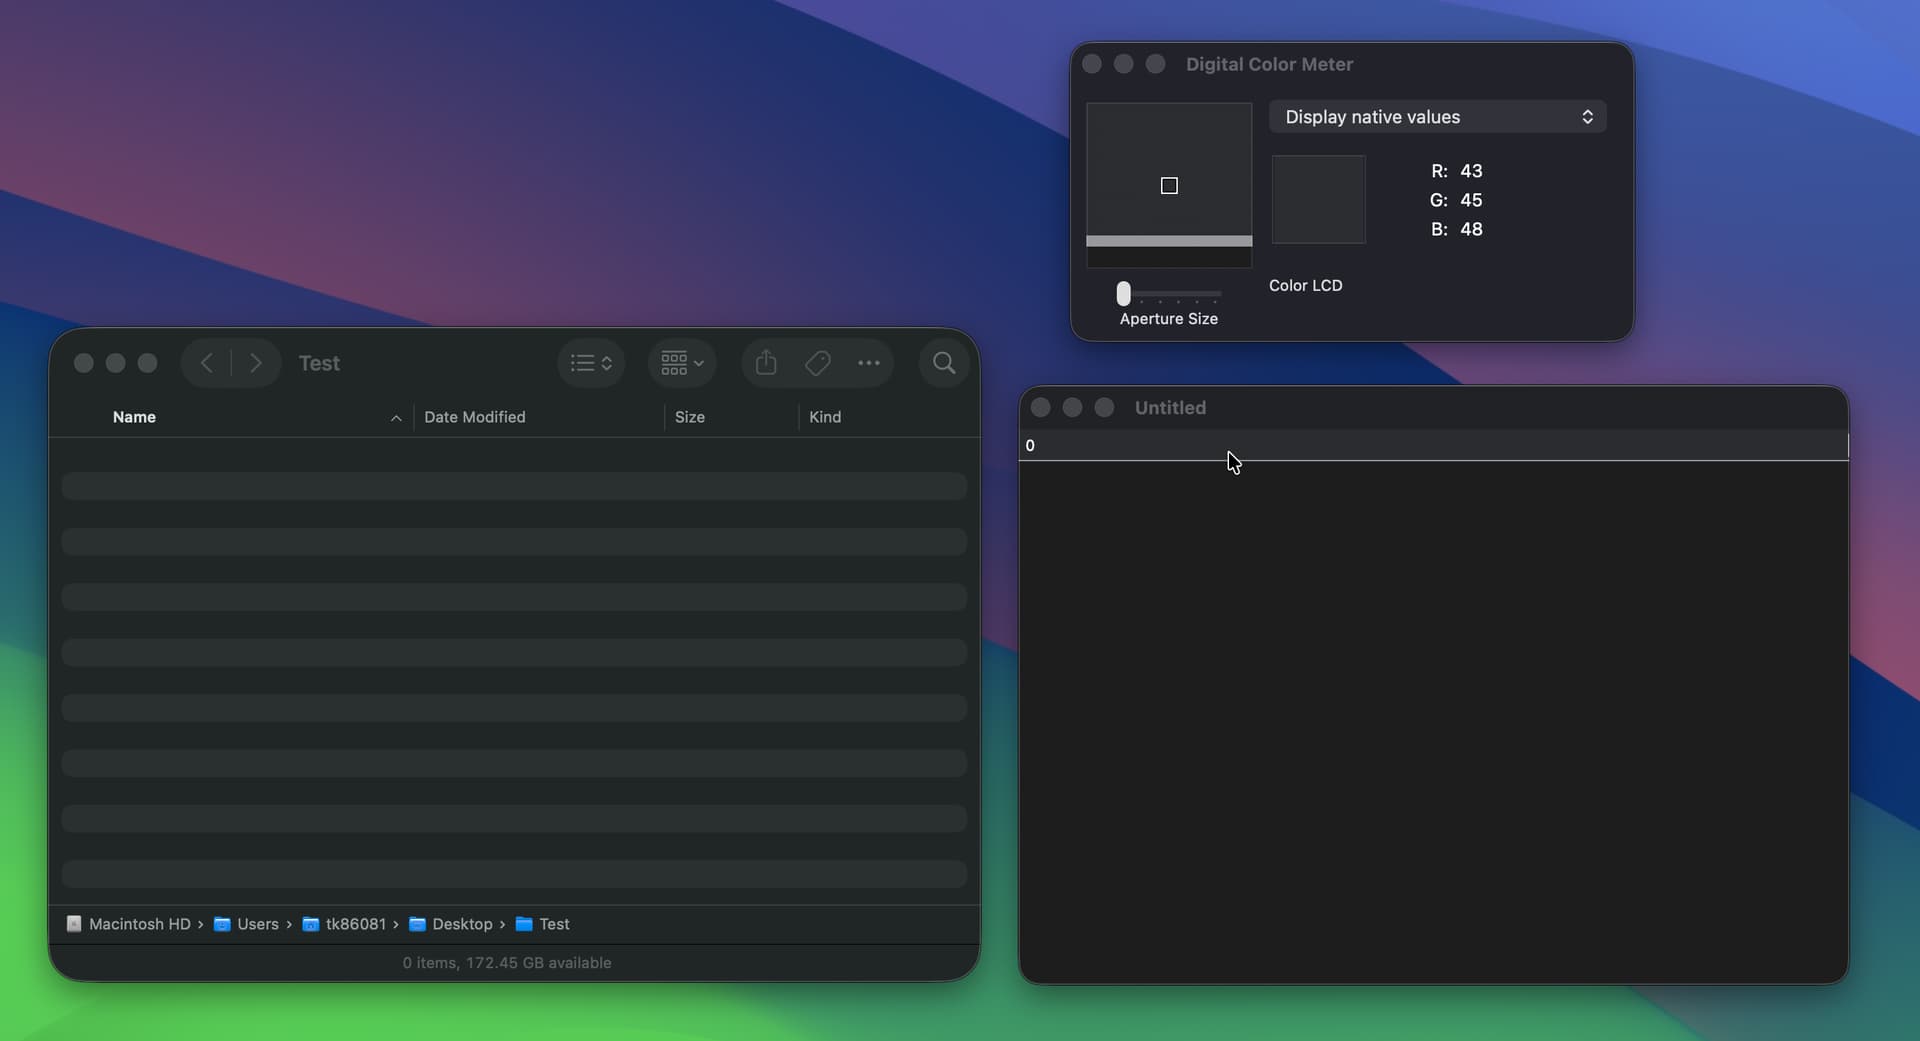
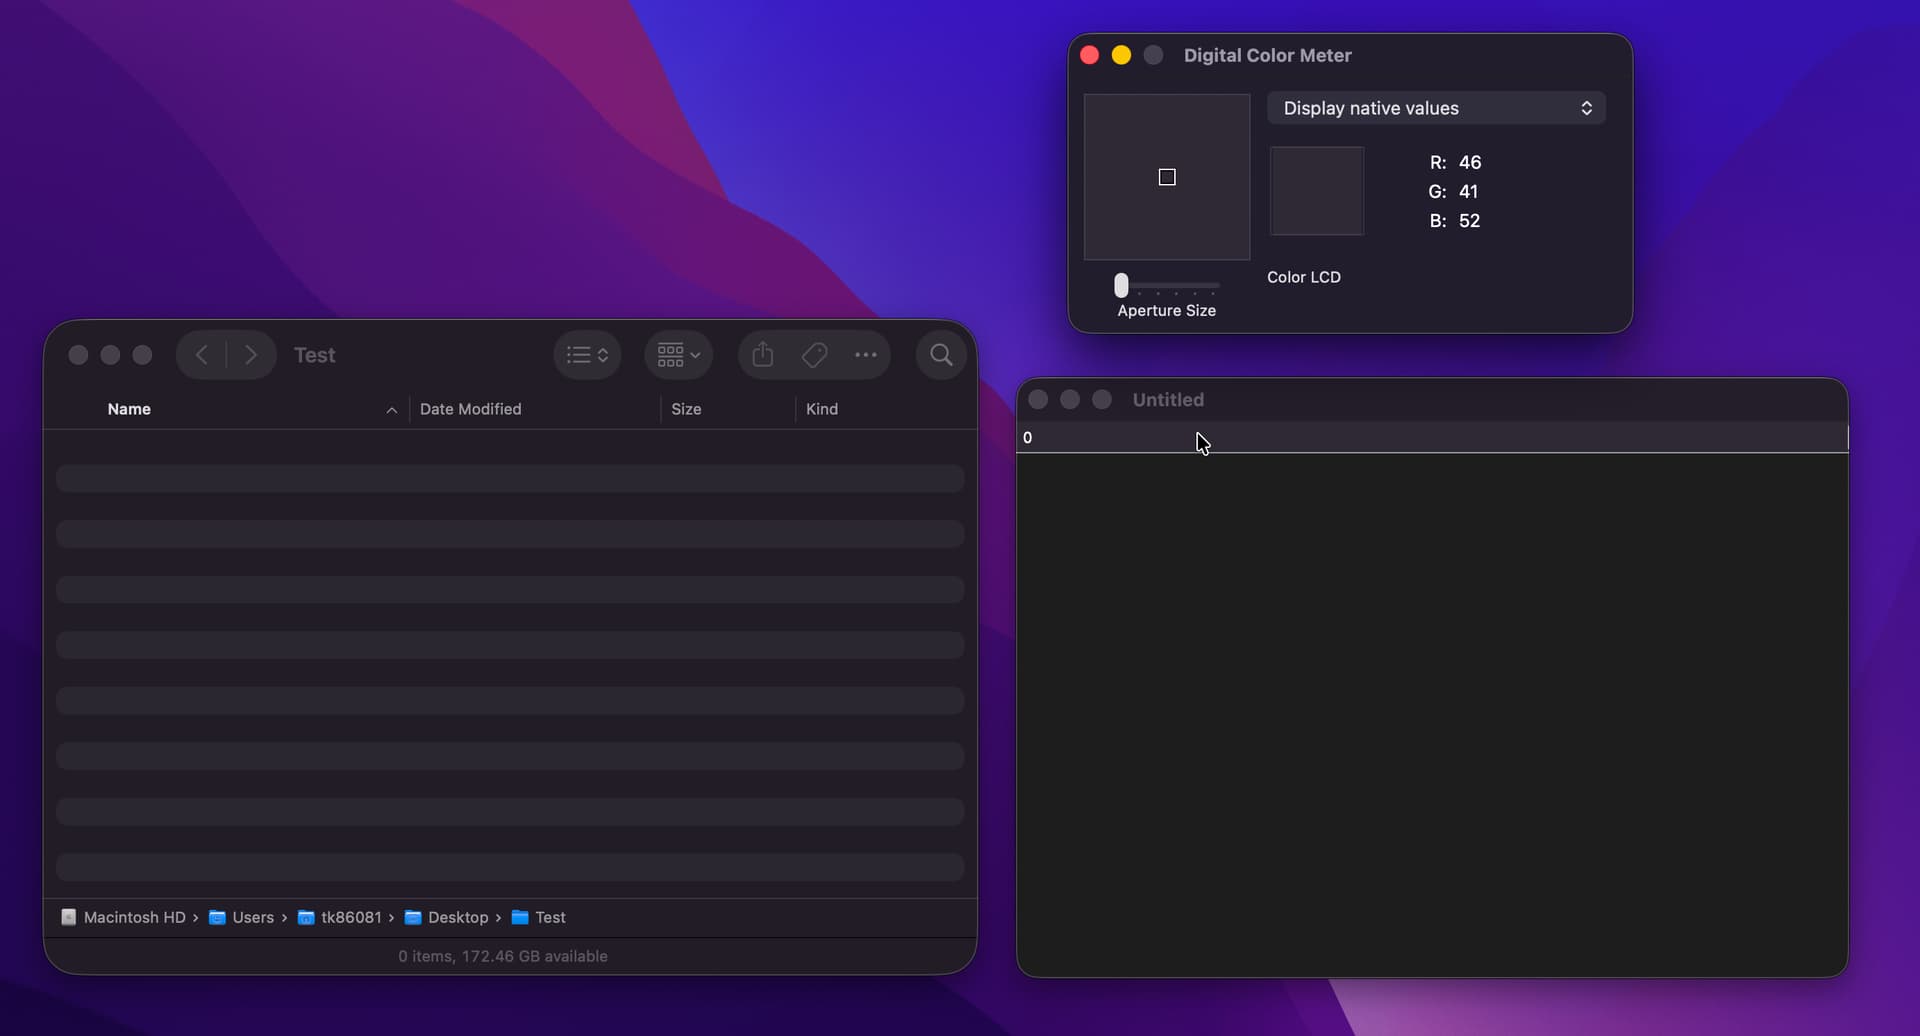
One of the aspects of making a macOS app look native is the tint color that the window takes on based on the desktop wallpaper/background.
This tint color is reflected in the header of the listbox, but there is no option for the rows to have alternating (or solid) colors that also take on that tint.
I’ve implemented methods that capture the window background and set alternating row colors based on the window color, but that’s pretty hacky. So I’m wondering if it would be possible for an option to be added to the listbox that would render alternating row colors that take on the window tint in the same way as the header of the listbox.
Thoughts? Is this worth a feature request? Or maybe I’m missing something and there is an easier way to derive the row colors to match the header.
You can see how the alternating rows take on the tint color of the wallpaper. The Xojo listbox header also takes on that tint color, but I’m looking for an option to have alternating row colors that adopt that tint color.
I’m currently using OWListboxForAqua, but that isn’t sustainable long term, so I was hoping for an equivalent (or close enough) that emulates the native look of Finder.
That is modern indeed. Do you use the MBS plugin? ChatGPT says (as I had guessed) that you can only do this with NSTableView:
NSTableView can be made transparent, but you must also make the NSTableView’s enclosing NSScrollView and its clip view transparent. Otherwise macOS will still paint a white/opaque background behind it.
As always you would need to check if this is true or not. If you do any custom drawing in NSTableView then you will have problems. Also the modern inset selection works sometimes more and sometimes less.
Yeah, I’ve looked into using NSTableViewMBS, but I do a lot of custom drawing in my listboxes and, from what I’ve seen in the examples, expanding and collapsing rows is kinda glitchy with the NSTableView.
Modern listboxes on Xojo are in a depressing state. Where and how did you see glitches when expanding/collapsing rows? I really need to look at custom drawing in NSTableView again.
@Jared_Feder The trick is that when doing custom drawing in dark mode you need to first clear the rectangle to let the window color show through. Then draw nothing for the even indexed rows and draw the alternating color (which is a transparent color) for odd indexed rows. Something like this:
Function PaintCellBackground(g As Graphics, row As Integer, column As Integer) Handles PaintCellBackground as Boolean
  #If TargetMacOS
    If Not Me.RowSelectedAt(row) Then
      If Color.IsDarkMode Then
        g.ClearRectangle(0.0, 0.0, g.Width, g.Height)
      End If
      If row Mod 2 = 1 Then
        g.DrawingColor = ColorGroup.NamedColor("secondaryContentBackgroundColor")
        g.FillRectangle(0.0, 0.0, g.Width, g.Height)
      End If
      Return True
    End If
  #EndIf
End Function

Function PaintHeaderBackground(g As Graphics, column As Integer) Handles PaintHeaderBackground as Boolean
  #If TargetMacOS
    If Color.IsDarkMode Then
      Const PADDING As Double = 4.0
      g.ClearRectangle(0.0, 0.0, g.Width, g.Height)
      g.DrawingColor = ColorGroup.NamedColor("separatorColor")
      g.FillRectangle(0.0, g.Height - 1.0, g.Width, 1.0)
      g.FillRectangle(g.Width - 1.0, PADDING, 1.0, g.Height - 2 * PADDING)
      Return True
    End If
  #EndIf
End Function