I’m refactoring an older app into the new world of Dark/Light mode desktops. We’ve converted our default application images to better light/dark pairs and I’m trying to determine the best way to handle the image changes before I start changing code.
Has anyone come up with a stable design flow for enabling automatic image swapping if the user changes modes while the app is running? Or, If my images are pure black (00000000) and pure white (FFFFFF00) will the framework handle that automatically?
I recognized that, but I have a tool written in Swift that I just support the black image for and the framework automatically changes it to white if the user is in dark mode.
That image is ONLY 11% White, not 100%
Like 2% GRAYS with some alpha and the rest is Black with 0 in the alpha.
I had all the images in a database with a class that returns a picture with the right size (2x, etc). I just added a second table to hold the second version
if color.isDarkMode
  'Create and return picture from db for dark mode
else
 'Create and return picture from db for light mode
end if
I think what Ivan is trying to say is that a 100% white image will have all pixels white.
Your image is 11% white because only around 11% of pixels are white.
For controls, you can use NSImage (use one of the various App Kits to get the declares) and the template property so the OS will draw it for you in the correct color.
If you’re drawing images into a canvas, with some declares you can colorize the picture after you’ve drawn it to the canvas. It does have a slight performance penalty, but when coupled with dynamic system colors, it will look right no matter which theme your customer is using.
App Wrapper uses this technique for the source bar.
Another alternative is to draw the icon (one in black) in the color of your choice, e.g. via a global method:
Public Sub DrawIcon(Extends g As Graphics, pic As Picture, x As Double, y As Double)
  Var p1,p2 As Picture
  Var scaleFactore As Double = g.ScaleX

  // Create a mask with the pic and a white background
  p1 = New Picture(pic.width*scaleFactore,pic.height*scaleFactore,32)
  p1.HorizontalResolution = 72 * scaleFactore
  p1.VerticalResolution = 72 * scaleFactore
  p1.Graphics.ScaleX = scaleFactore
  p1.Graphics.ScaleY = scaleFactore
  p1.Mask.Graphics.ScaleX = scaleFactore
  p1.Mask.Graphics.ScaleY = scaleFactore
  p1.Graphics.DrawingColor = Color.RGB(255,255,255)
  p1.Graphics.FillRectangle(0,0,p1.Width,p1.Height)
  p1.Graphics.DrawPicture(pic,0,0)

  // Create a new picture with the DrawingColor from the graphics object
  p2 = New Picture(pic.width*scaleFactore,pic.height*scaleFactore,32)
  p2.HorizontalResolution = 72 * scaleFactore
  p2.VerticalResolution = 72 * scaleFactore
  p2.Graphics.ScaleX = scaleFactore
  p2.Graphics.ScaleY = scaleFactore
  p2.Mask.Graphics.ScaleX = scaleFactore
  p2.Mask.Graphics.ScaleY = scaleFactore
  p2.Graphics.DrawingColor = g.DrawingColor
  p2.Graphics.FillRectangle(0,0,p2.Width,p2.Height)
  p2.ApplyMask(p1)

  // Draw the pic in the new color
  g.DrawPicture(p2,x,y)

End Sub
And in the Paint event:
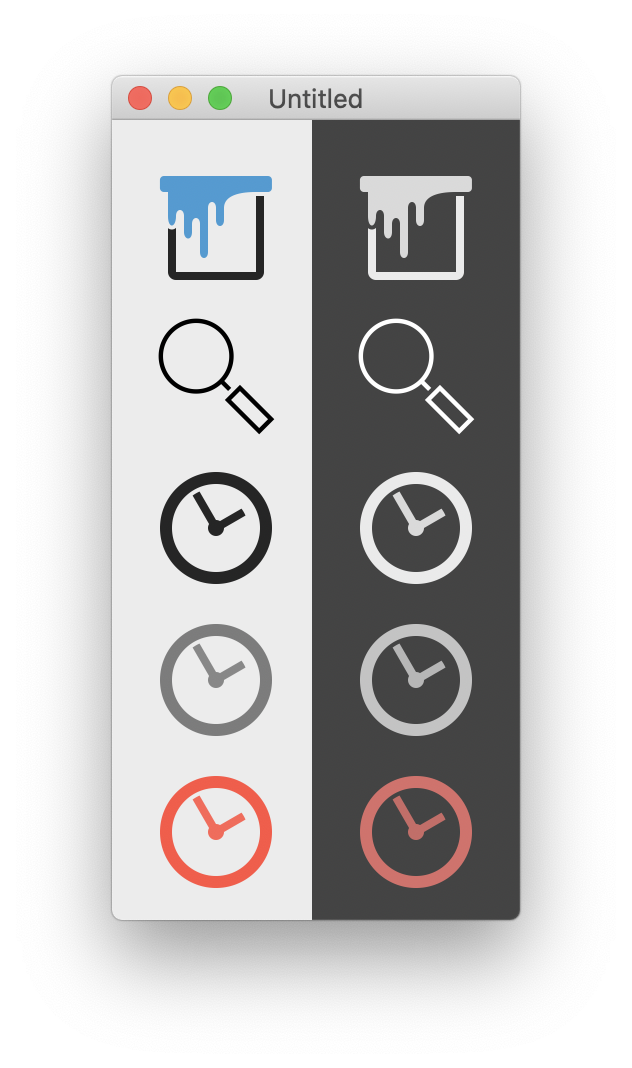
if Color.IsDarkMode Then g.DrawingColor=Color.RGB(255,255,255) Else g.DrawingColor=Color.RGB(0,0,0)
g.DrawIcon(picMagnifying,0,0)
Here’s another version of the code that doesn’t use the deprecated picture masks, and respects the opacity of the desired color. It’s used a little differently though.
Protected Function IconWithColor(Icon As Picture, FillColor As Color, MinFactor As Double, MaxFactor As Double) As Picture
  Var Width As Integer = Icon.Width
  Var Height As Integer = Icon.Height

  Var Bitmaps() As Picture
  For Factor As Integer = MinFactor To MaxFactor
    Var ScaledIcon As Picture = Icon.BestRepresentation(Width, Height, Factor)

    Var Pic As New Picture(Width * Factor, Height * Factor)
    Pic.VerticalResolution = 72 * Factor
    Pic.HorizontalResolution = 72 * Factor
    Pic.Graphics.DrawingColor = Color.RGB(FillColor.Red, FillColor.Green, FillColor.Blue)
    Pic.Graphics.FillRectangle(0, 0, Pic.Width, Pic.Height)

    Var Mask As New Picture(Width * Factor, Height * Factor)
    Mask.VerticalResolution = 72 * Factor
    Mask.HorizontalResolution = 72 * Factor
    Mask.Graphics.DrawingColor = &cFFFFFF
    Mask.Graphics.FillRectangle(0, 0, Pic.Width, Pic.Height)
    Mask.Graphics.DrawPicture(ScaledIcon, 0, 0, Pic.Width, Pic.Height, 0, 0, ScaledIcon.Width, ScaledIcon.Height)

    If FillColor.Alpha <> 0 Then
      Mask.Graphics.DrawingColor = Color.RGB(255, 255, 255, 255 - FillColor.Alpha)
      Mask.Graphics.FillRectangle(0, 0, Pic.Width, Pic.Height)
    End If

    Pic.ApplyMask(Mask)
    Bitmaps.Add(Pic)
  Next
  Return New Picture(Width, Height, Bitmaps)
End Function
On Mac the Template property is the key. If used on a black image it will auto adjust to the correct settings when switching to dark mode. The problem is the Xojo picture object doesn’t support that macOS property. You can set it and assign using the API on pretty much any control.
This is indeed one of the problems with the current Xojo framework and trying to build high quality Mac applications. Its why I keep suggesting Xojo to hire or contract a Mac specialist to ensure that Mac apps built with Xojo look, feel and operate like native apps. Without declares (or plugins), some things are simply not possible (like native BS toolbars), and others are a lot of inefficient work.
Heck colorizing an icon in the macOS is lot simpler than some solutions I’ve seen shared on this forum, but for theming purposes, you’re wasting energy doing it yourself, instead let the OS do it (especially if you want vibrancy as well).
Also a Windows specialist then, many implementations are wrong and incomplete, bad theming suport, ugly custom controls instead of native ones, etc, etc.